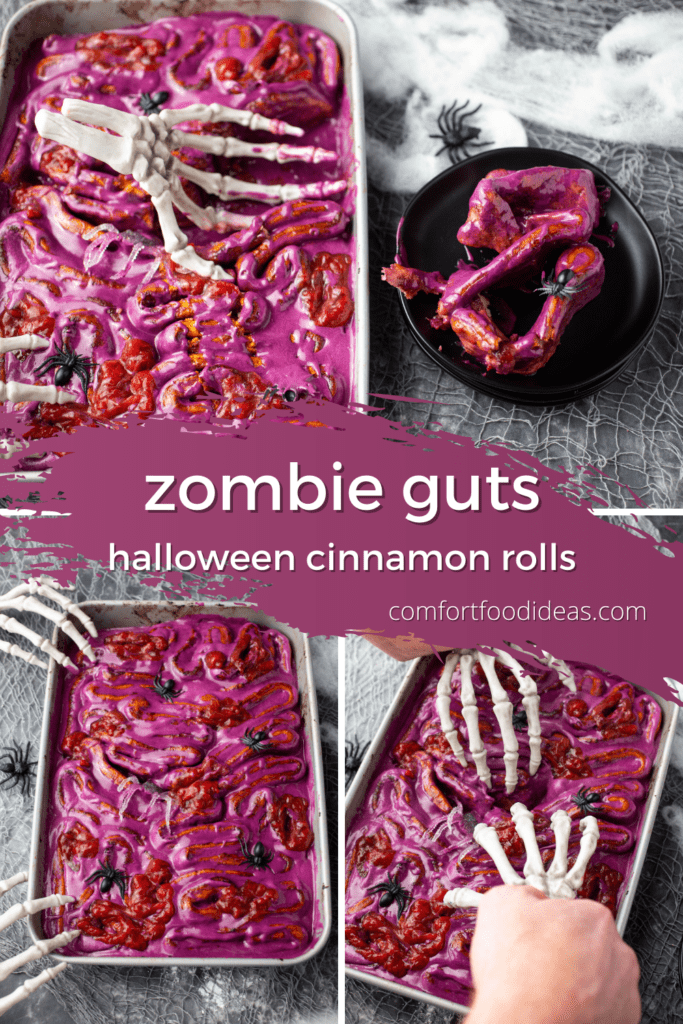
Halloween is fast approaching! These creepy Zombie Guts use store bought cinnamon rolls! Perfect for breakfast Halloween morning… and kids LOVE helping make these!
Craving warm and cozy desserts this Fall? Check out these Cinnamon Apples, Sticky Toffee Pudding, Apple Pie Bars, Salty and Sweet Kettle Corn Cookies
I’ve seen these over the years and I’m always so grossed out by them. But, at the same time, they are SO fun and really amp up the Halloween spirit! They are made of standard store bought Grands Cinnamon Rolls. They take a little over 20 minutes from beginning to end. You have so many options on how you want to present these – gotta love choices!
Ingredients
- Grands Cinnamon Rolls – I used the Original – but use whatever version you prefer – it just HAS to be the Grands
- Powdered Sugar
- Unsalted Butter
- Cream Cheese – I used whipped cream cheese because it is what I had on hand
- Vanilla
- Kosher Salt
- Food coloring of your choice
How to make edible Zombie Guts
Cinnamon Roll Intestines: Open two packages of Grands Cinnamon Rolls. Set the icing aside. Unroll each cinnamon roll. In a 9×13 pan, begin winding each cinnamon roll in the pan in a shape that resembles intestines. Continue with each cinnamon roll. The more variation – the more ‘lifelike’. Bake at 400*F for 15-17 minutes.
Cream Cheese Icing: In a medium bowl, add icing from cinnamon rolls, powdered sugar, softened butter, room temp cream cheese, vanilla, and a pinch of salt. Mix until well blended and no chunks of powdered sugar remain.
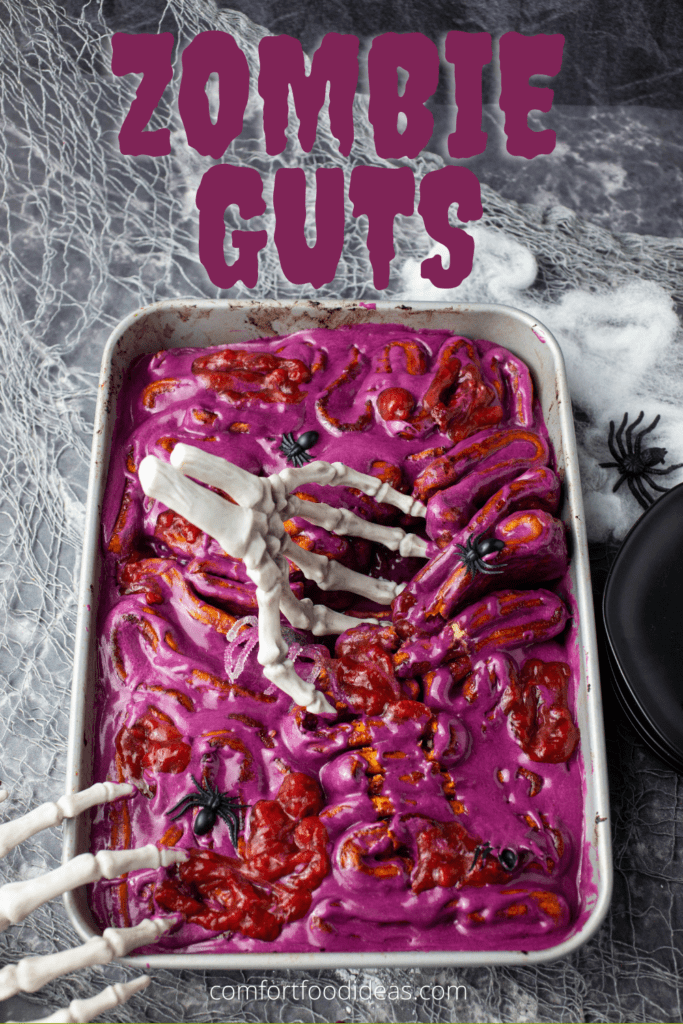
Dyeing Icing: This is where you can have fun! Personally for me, red is hard to achieve. I used a random combo of red, black, green, orange, and purple to get the purpley-pink you see. I think it’s fun and a little bit less super gross and “straight out of a horror movie”! Keep adding and mixing until you are happy with a color you create!
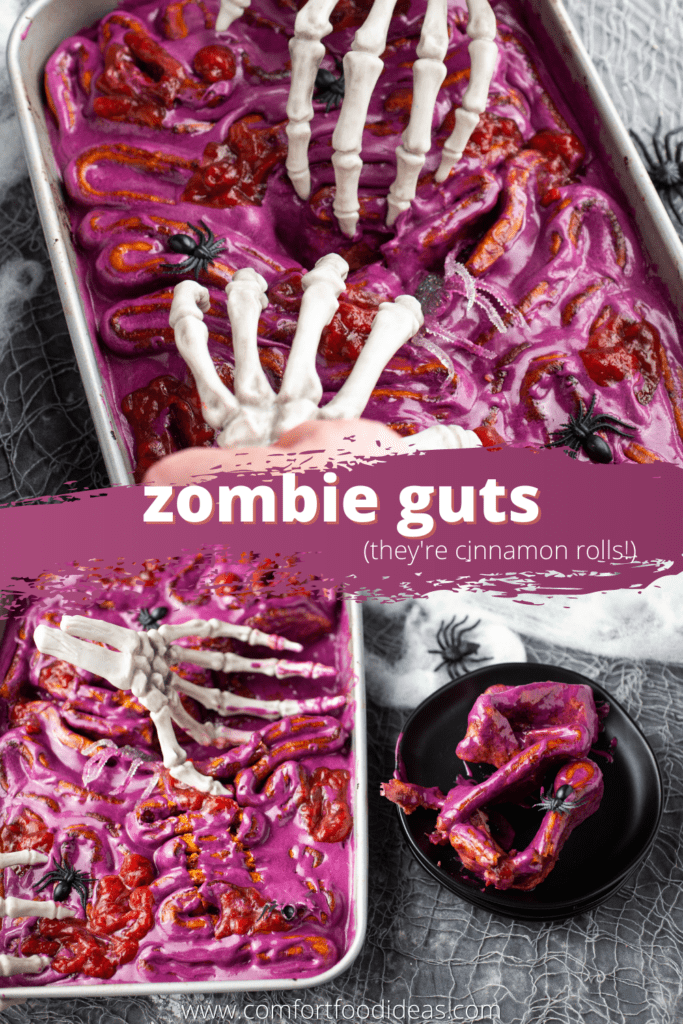
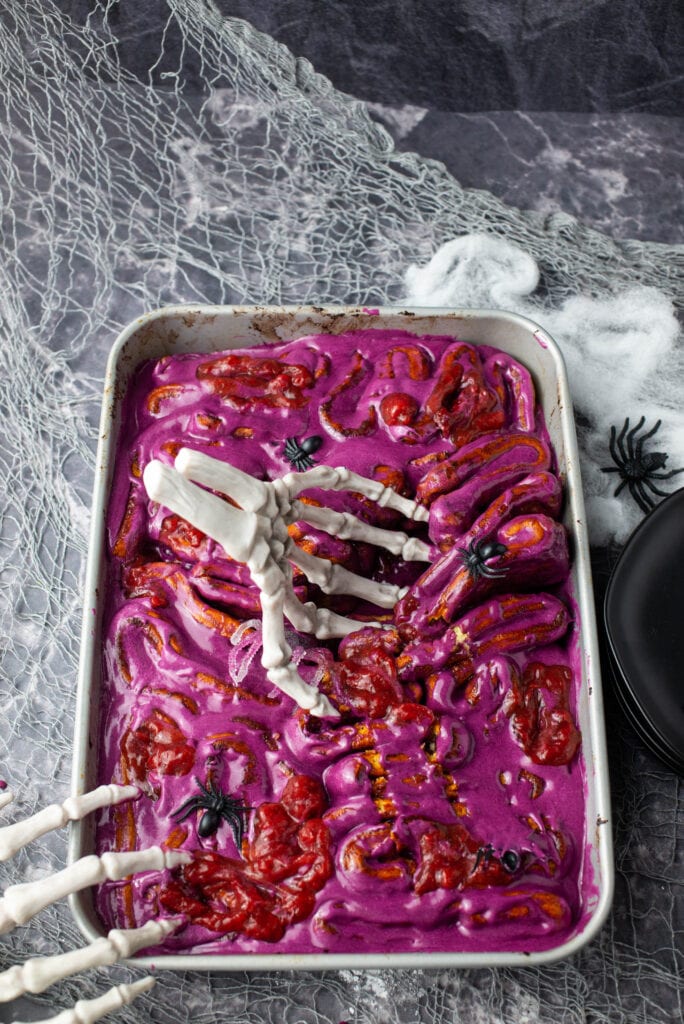
Frosting the cinnamon rolls: Once the cinnamon rolls have finished baking and cool for a few minutes, pour the icing over the pan and spread around. Next, you’ll want to use your knife or spatula to help separate the lines to allow the icing to seep into the grooves. This will really allow the Zombie Guts to take shape!! Decorate with plastic spiders, roaches, skulls or anything you think is spooky and the kids will love!
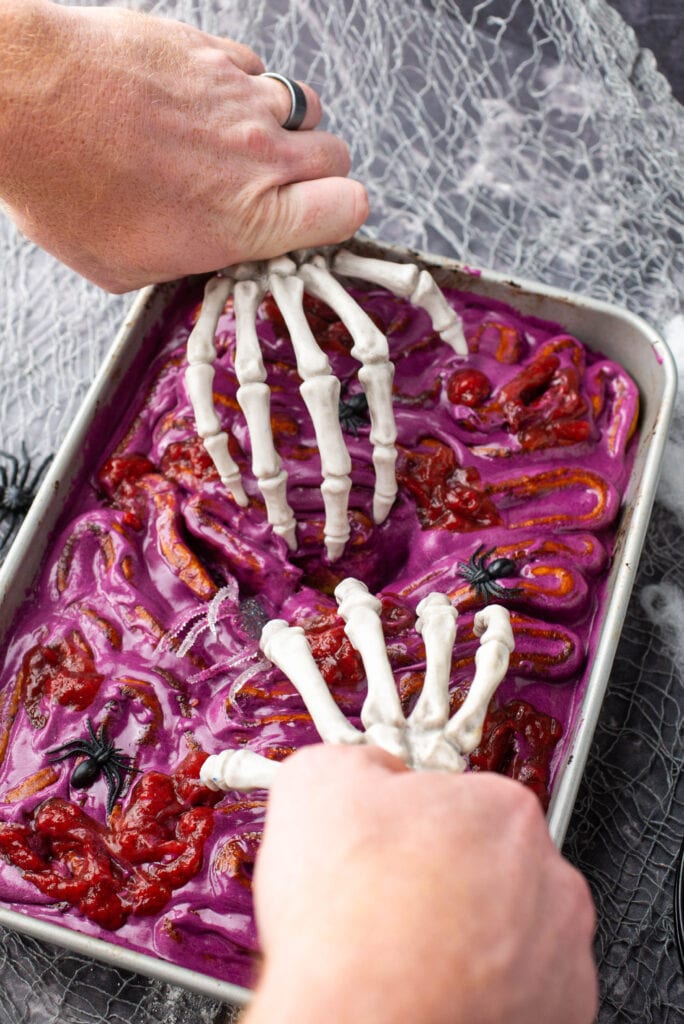
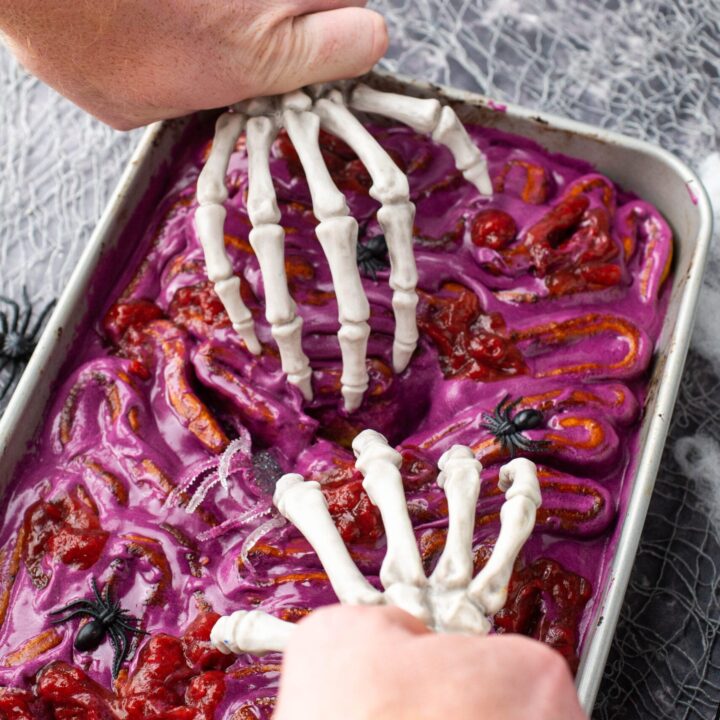
Cut or pull apart (we used skeleton hands) and serve immediately!
Recipe Alternatives
You can let your imagination run wild here!
- I added a few small dollops of low sugar strawberry preserves around these Cinnamon Rolls Intestines and helped them into the grooves with my spatula
- If you grew up with cinnamon rolls and chili – I’m talking to you Mid-westerners – I would pull back on the icing by about half and you could add your chili here
- Love cinnamon? Add an extra 1/2 teaspoon of ground cinnamon to the icing
- You could easily add some fruit – think berries or cherries – and mix them in with the icing
- If you want less sugar, mix up the icing that came with the cinnamon rolls and combine until smooth. Add the icing to a small ziplock bag, cut the tip off and drizzle over the Zombie Guts
Zombie Guts (Cinnamon Roll Intestines)
Halloween is fast approaching! These creepy Zombie Guts use store bought cinnamon rolls! Perfect for breakfast Halloween morning... and kids LOVE helping make these!
Ingredients
- 2 packages Original Grand Cinnamon Rolls (save the tubs of icing)
- 3/4 cups Powdered Sugar
- 3 tablespoons Unsalted Butter, softened
- 1/2 teaspoon Vanilla Extract
- 1/8 cup (2 tbsp) cream cheese, room temp
- Food Coloring of your choice
Instructions
- Preheat oven to 400°F (204°C)
- Lightly grease a 9x13 baking dish
- Unroll all the cinnamon rolls - set the included icing containers aside
- Begin winding them into an intestine shape in the baking dish
- Continue through all 10 cinnamon rolls - it doesn't have to be perfect the rolls will expand during cooking and fill in most gaps!
- Bake for 15-17 minutes until golden brown
- While the cinnamon rolls are cooking, make the icing
- In a medium bowl, add the icing from the cinnamon rolls, powdered sugar, butter, vanilla, and pinch of salt
- With a mixer on medium-low, beat until smooth and no chunks of powdered sugar remain
- Slowly add you food coloring of choice or combine whatever colors you have - several drops at a time and mix until coloring is incorporated
- Repeat this process until your desired color is achieved
- Once the cinnamon rolls are done baking allow to cool for a few minutes
- Next, pour the icing over the rolls - use your spatula or knife to help separate the grooves and allow the icing to seep into the cracks highlighting the intestine form
- Decorate with any halloween themed props and serve immediately (see notes below)
Notes
If serving to children, please ensure that any decorations are appropriate for the age of child. Please ensure there are no choking hazards and that they can easily be removed from the rolls before eating.
Nutrition Information:
Yield: 10 Serving Size: 1Amount Per Serving: Calories: 94Total Fat: 5gSaturated Fat: 3gTrans Fat: 0gUnsaturated Fat: 1gCholesterol: 9mgSodium: 71mgCarbohydrates: 13gFiber: 0gSugar: 10gProtein: 1g
The nutritional values above are auto calculated by a nutrition program and can vary based on brands of ingredients used.
This post may contain affiliate links. We are a participant in the Amazon Services LLC Associates Program, an affiliate advertising program designed to provide a means for us to earn fees by linking to Amazon.com and affiliated sites.
24 Comments
Beth
October 12, 2020 at 9:40 amThis looks so cool and fun! A good idea for halloween party or get together! My kids are going to love this idea!
Jen
October 12, 2020 at 1:41 pmI can’t wait for my kids to see this for breakfast! Perfectly spooky for the season.
Noelle Simpson
October 12, 2020 at 3:25 pmThis is perfect! My kids will love this, great weekend breakfast!
Jessica Formicola
October 12, 2020 at 3:27 pmThese cinnamon rolls are creepy in the best way! Can’t wait to make these for breakfast on Halloween!
Jacque Hastert
October 12, 2020 at 4:24 pmWhat a fun way to get the kiddos into the kitchen and having fun! This will be perfect for the small gathering that we are having soon. Thanks for sharing!
Wayne
October 12, 2020 at 4:27 pmThis recipe will be so fun for my family! I can’t wait to make this!
Erin | Dinners,Dishes and Dessert
October 12, 2020 at 8:59 pmThese creepy Zombie Guts would disappear in our house!
Sharon
October 13, 2020 at 7:05 amThis is just amazing as a centerpiece and a great way to bring spooky to the dessert table this Halloween.
Toni Dash
October 13, 2020 at 8:36 amThis is such a fun idea!! Love that it is so easy to make!
Allyson Zea
October 13, 2020 at 2:53 pmWow this is so cool! I love how easy it is!
veenaazmanov
October 14, 2020 at 10:28 amThis is so much of fun and excitement. Easy and kids to have a blast.
Bernice Hill
October 14, 2020 at 3:57 pmhahaha ew. Gross! (But I bet they do taste amazing!) This is the perfect quick, no hassle Halloween recipe. Perfect for us last minute folk.
Kerri
October 14, 2020 at 4:25 pmHa! Right?! 😉
Kathryn Donangelo
October 16, 2020 at 11:09 amI am making these for halloween! I love how creepy yet delicious (because cinnamon rolls!) these are! So fun for kids too!
Leslie
October 18, 2020 at 11:38 amI fee like I’ve been living in a bubble! I’ve never seen anything like this! This is seriously such a cool/fun/festive recipe! LOVE!!!
Kerri
October 18, 2020 at 11:44 amThank you so much! <3
Tammy
October 18, 2020 at 2:39 pmSuch a fun and festive idea for spooky season!! I am so impressed with your creativity…so inspired!!
Kerri
October 18, 2020 at 5:14 pmThank you so much!! xo
Marisa F. Stewart
October 18, 2020 at 7:00 pmThis is such a fun idea. I saved this so I could make it for my grandsons — you know boys they love gorey. I already tried the recipe out and my daughter thought the boys would go nuts over it. I can’t wait for them to see. it.
Kerri
October 18, 2020 at 8:43 pmThat’s awesome! It’s totally boy food!
Loreto Nardelli
October 18, 2020 at 8:12 pmWow, these are definitely gooelishly ghastly, perfect for the Halloween season. The texture and look is spot on and I am sure the kids will have fun with this one!
Well done and so easy!
Jagruti's Cooking Odyssey
October 19, 2020 at 4:00 amThis is so fun project for kids for the Halloween season. I am sharing this to my friend as she has small kids and I think they’ll have so much fun creating this amazing piece.
Veronika Sykorova
October 19, 2020 at 11:50 amOmg haha this looks crazy! So creative! I love halloween treats
Patricia @ Grab a Plate
October 20, 2020 at 11:34 pmThis. Is. Amazing! So much fun – I can imagine the kiddos dying over it! Fun and creative!